


So you want to take film photos?

Moments move at the speed of light—thanks to social media. Around 95 million photos and videos are shared on Instagram daily. And in 2025, according to online media monitoring company Meltwater, Filipinos spend almost nine hours a day online, the third highest in the world. While social media keeps the world virtually connected, too much screen time affects mental and physical health.
This dizzying pace of consuming information while staying sedentary compelled many to go outside and slow down or, as they say, touch grass.
One such way that’s gained popularity in recent years is to bottle the moments and observe the world more intentionally through film photography. Millennials and Gen Z, the latter of whom had their childhoods documented on smartphones, are responsible for the revival of analog photography.
Shooting film is challenging. You can’t review photos after taking them, and you can’t control light leaks and exposures. But this is what makes film the perfect medium to go outside, slow down, and capture special memories. Here are five steps to get started for budding photographers and sentimentalists alike.
Step 1: Choose the right camera for you
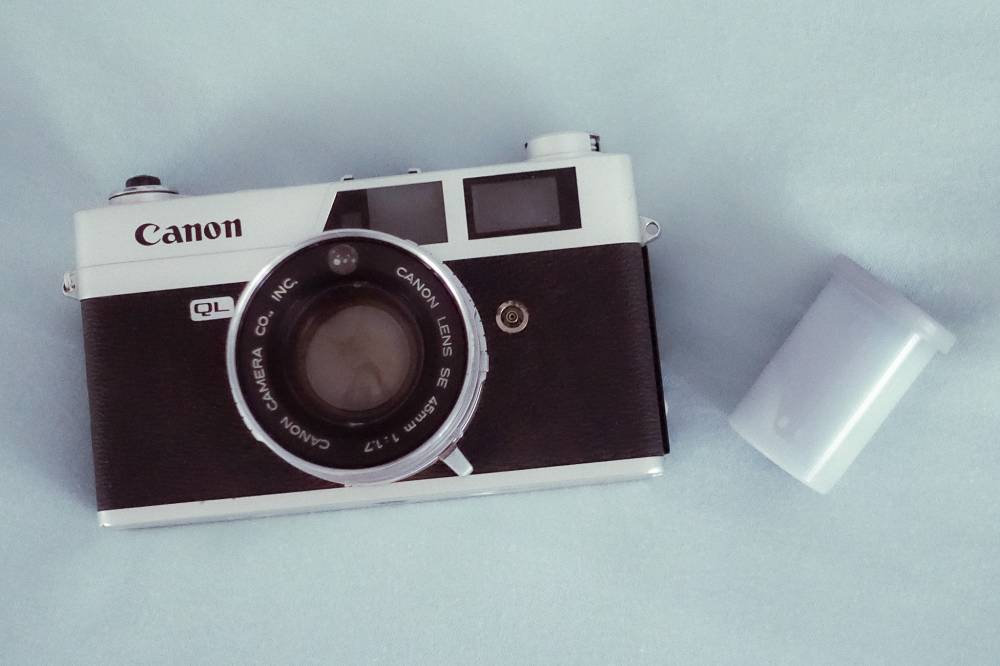
The best film camera is the one you already have. Before adding a camera to your shopping cart, check if you have a working one at home. You can ask your family and friends if they have a spare lying around. Several great cameras are no longer in production, and sadly, a few film camera manufacturers closed operations. Looking at pre-loved cameras widens your options.
If you’re still looking for a film camera, here’s a guide to narrow your search:
• Instant cameras, like the Fujifilm Instax series, Polaroid, and Leica Sofort, are great for beginners. They offer the nostalgia of peering through an analog viewfinder and the convenience of seeing film develop immediately after shooting. The main drawbacks are that the images are smaller and the film packs are more expensive. Reserve these for special occasions.
• Disposable cameras, like those from Fujifilm, Reto Project, and Kodak, are perfect for those who want to try film photography without investing in a reusable film camera right away. Disposable cameras typically let you take 20 to 30 photographs for each camera.
• Point-and-shoot film cameras, such as the Kodak Ektar series, the Reto Pano, and the Reto Ultra Wide & Slim, let film enthusiasts take more photos while being more cost-effective than instant and disposable cameras.
• Single-reflex cameras are ideal for intermediate photographers seeking to enhance the quality of their photographs through premium glass lenses and more manual controls.
Step 2: Select and care for your film
Picking the right type of film is perhaps even more important than selecting your camera. Instant cameras often come with the brand’s standard film packets, and disposable cameras have pre-installed film.
Point-and-shoot and single-reflex cameras use separate rolls of film, usually 35mm and with 36 shots in each roll. Popular rolls include the Fujicolor C200, Kodak Ultramax, and Kodak Portra, which director Sofia Coppola can’t live without.
Before buying film rolls, check two key details: ISO and expiration date. High ISO, such as 800, performs better in environments with less light, such as indoors and twilight. While a low ISO, like 200, works well in strong daylight. Film past its expiration date still works, but expect strange colors and lower resolution.
When putting film in your camera, insert the roll into the deposit and then tug the tab gently until it reaches the other side. Close the camera’s door, and whatever you do, don’t open it again. Exposing film to light after it’s been loaded would damage the film.
To prevent light from reaching your film, you can stick electric tape on your camera’s door. If you’re bringing your film on a trip, keep your rolls in your carry-on bag to avoid exposure to X-rays.
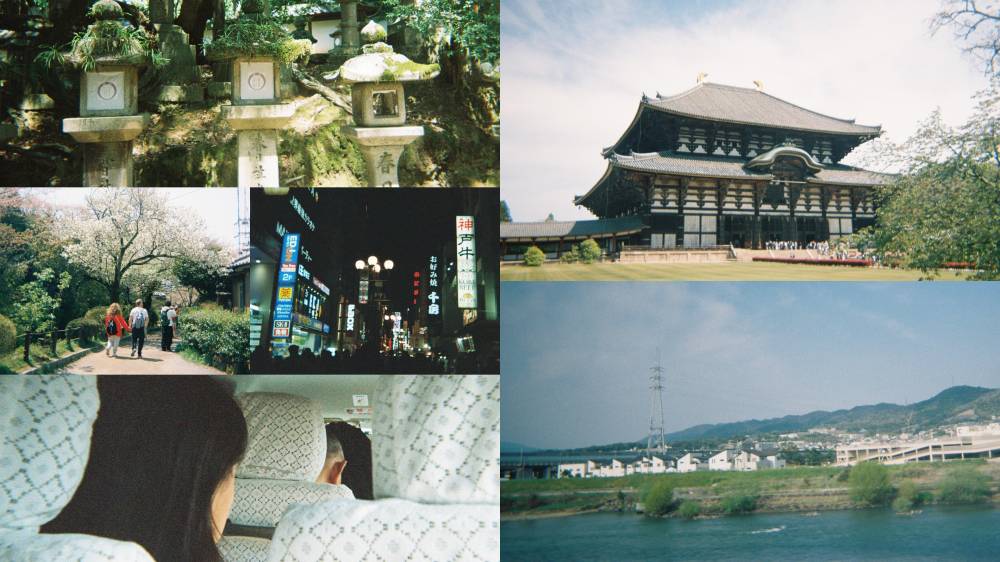
Step 3: Start taking photos
Now, it’s time to go outside and shoot. Like selecting your camera and film, purpose pays off.
• Frame your subject in your viewfinder to get the composition just right before pressing the shutter.
• After taking a shot, turn the advance lever to take the next one.
• Use flash indoors or at night, especially with 200 or 400 ISO film. Most film cameras have built-in flash, but you can also use an external flash or light source.
• Don’t take photos too close. Most film camera lenses have a minimal focus distance, so shots taken too close to the subject become out of focus. Step back from your subject (1 m is a safe distance) and shoot.
• Keep your fingers far away from the lens. A stray finger can ruin the best shots.

• If you’re shooting outdoors, take photos in areas shaded by leaves. Dappled lighting creates a soft effect that many look for in film.
Step 4: Develop your photos
Once you finish a roll, wind the knob and take it out of your camera. Store the film in a film canister, package it securely, and send it for development. Typical turnaround time for development ranges from one to five business days.
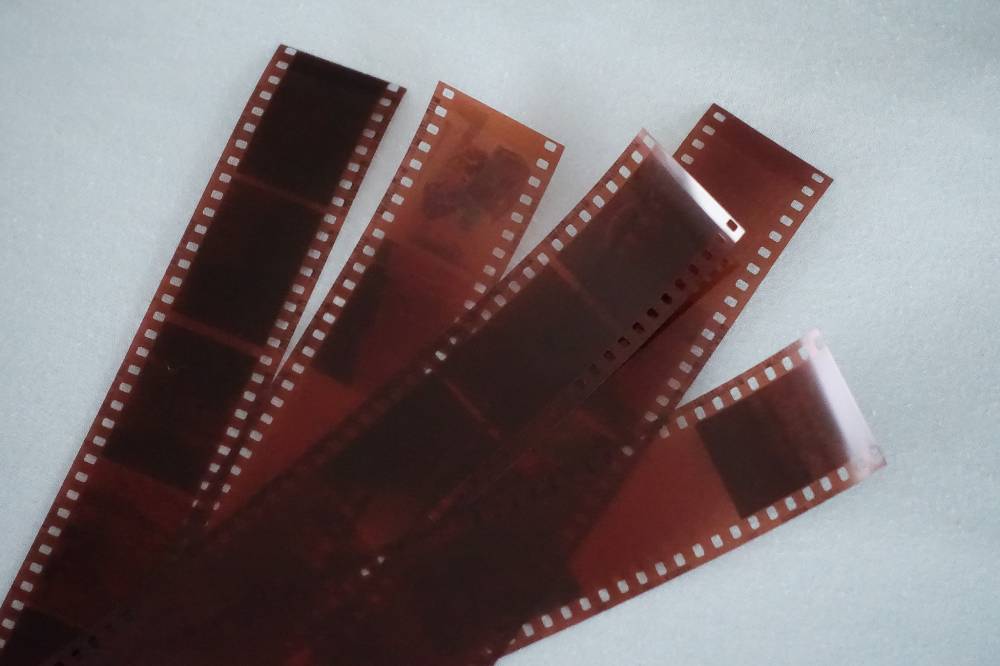
Film developers give you the option to receive your photos as digital or physical files. Some even let you keep the negatives, which helps you track your progress.
Step 5: Digital alternatives
Nothing can fully replicate the magic of film. But if you’re still partial to digital, these alternatives help.
• You can edit your smartphone photos to resemble film through apps like DazzCam and VSCO.
• Hybrid instant cameras, such as the Fujifilm Instax Evo series and LiPlay, let you review your photos onscreen before printing them out.
• Fujifilm is also finding ways to recreate the experience of shooting with film through their cameras. The X Half is a digital camera with film options and an advance lever.
• You can use a disposable camera lens on your mirrorless camera through Pocket Dispo’s 3D-printed lens.
While technology moves at lightning’s pace, taking a minute longer to frame the world around you will be well worth it.